Add Authentication to Your Agent
Why Authentication Matters
Your agent currently works great with public tools, but has a critical limitation: it doesn't know who you are. Without user identity, your agent can't:
- Access personalized data (like your portfolio)
- Make user-specific decisions
- Maintain secure boundaries between users
- Provide truly personalized AI experiences
In this step, we'll solve this by adding Auth0 authentication, transforming your anonymous chatbot into a personalized AI agent that knows who it's helping.
What we're building in this step
Security layers we're adding:
- ✅ Middleware protection - Auth0 redirects for all routes
- ✅ Server-side page protection -
withPageAuthRequired() - ✅ API route protection - Session verification in chat endpoint
- 🔄 Next: Add portfolio tools with token delegation
Create your Auth0 tenant
First, create your own Auth0 tenant for authentication:
Go to https://auth0.com/ai
-
Click "Sign up" and then complete the signup process
-
Select a region and approve the "Terms and Conditions" for GenAI Developer Preview

-
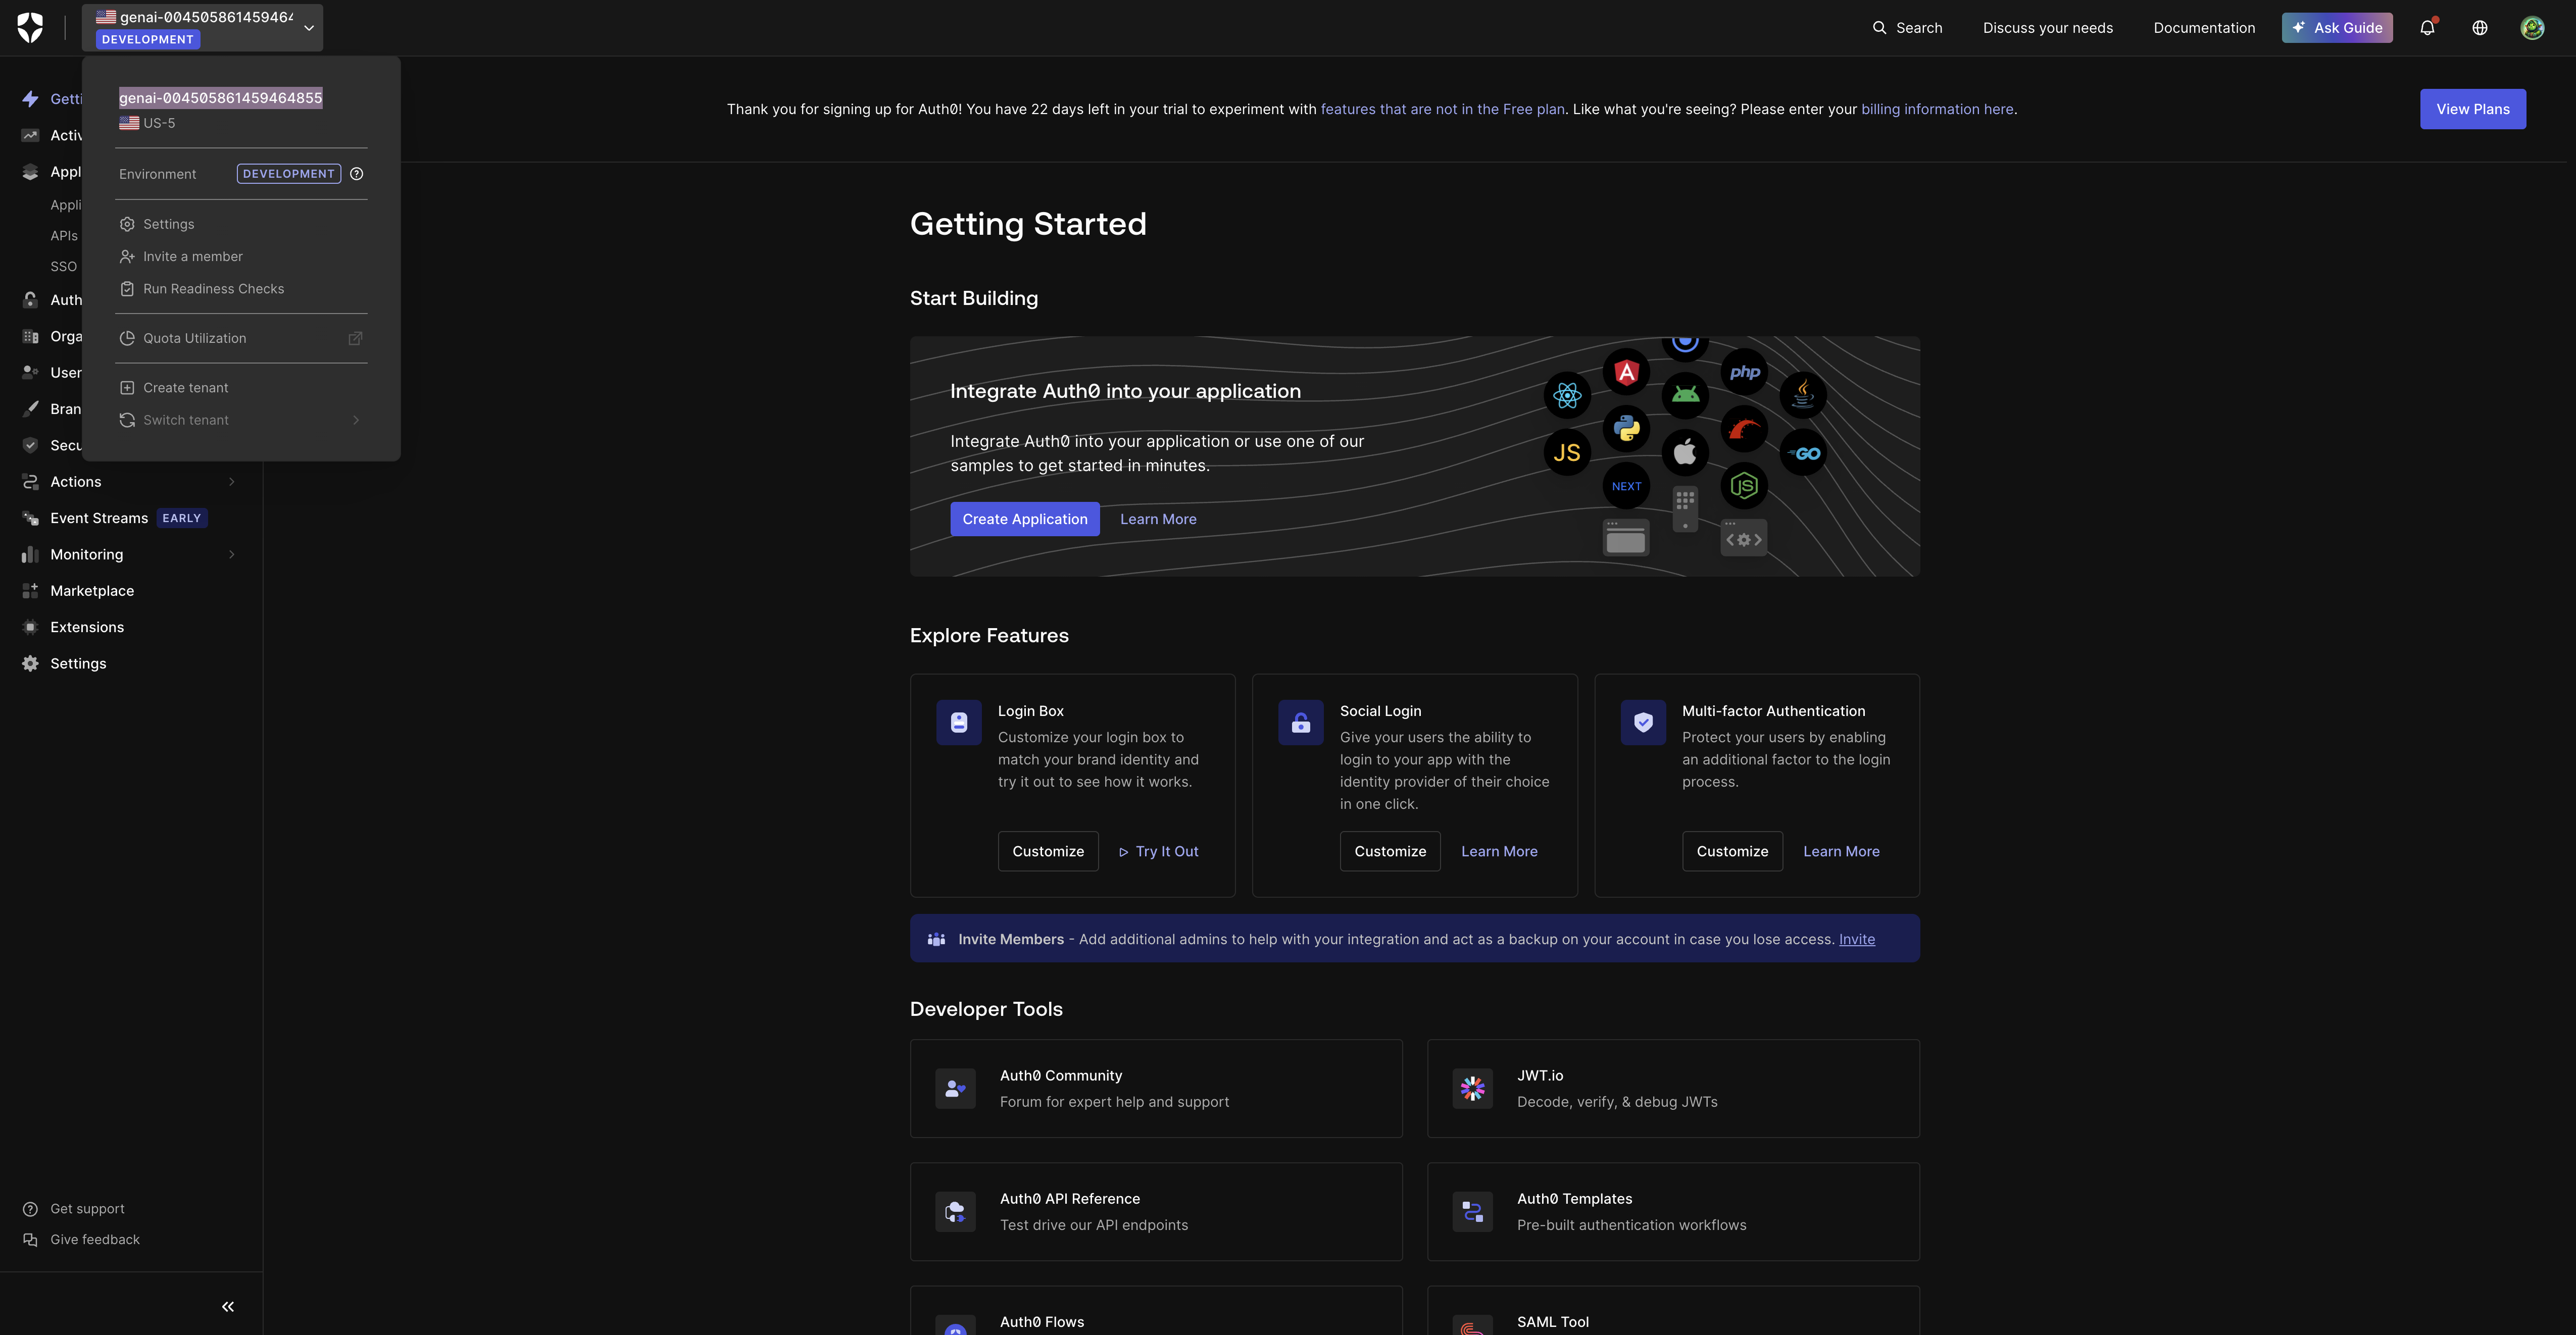
Click Continue button, the tenant name will be automatically generated for
-
Note your tenant domain - You'll need this (e.g.,
genai-9199191919199191.us.auth0.com)
Set up Auth0 CLI and initialize your tenant
Configure the Auth0 CLI and run the initialization script:
# Login to Auth0 CLI
auth0 login --scopes create:client_grants

# Select your newly created tenant when prompted
# Navigate to agent directory and run init script
cd auth0-agent
./init.sh
What the init script does:
- ✅ Creates Management Client - Auth0 client for Terraform
- ✅ Runs Terraform - Sets up API resource and agent application, along with an Enterprise OIDC connection.
- ✅ Generates Environment - Creates
apps/agent/.envfile. Copy these environment variables
Note: At the time of this writing, our Terraform scripts do not yet support some steps and newly released features around Token Vault and the Auth0 My Account API (Connected Accounts). The Auth0 My Account API allows users (and developers) to easily manage their connected accounts using a common set of APIs (all within
https://{yourDomain}/me/). Let's enable those now manually in the Auth0 Dashboard after Terraform scripts have completed by doing the following:
- Navigate to Authentication > APIs, locate the My Account API banner, and select Activate to activate the Auth0 My Account API.
- Once activated, select Auth0 My Account API and then select the Applications tab.
- Toogle your StockTrade to authorize it to access the My Account API.
- In the dropdown menu, select the Connected Accounts scopes for the StockTrade application, ensuring that at a minimum, the
create:me:connected_accountspermission is selected. - Select Update
- Still under the Auth0 My Account API, select the Settings tab.
- Under Token Sender-Constraining: if this is a free tenant, set the Sender-Constraining method to "None". If this a tenant with a subscription, you can use "DPoP" (demonstrated proof of possession) with this workshop. You can read more about
Sender Constraining here if you are curious.
- Under Access Settings, select Allow Skipping User Consent. This is due to the fact we are using Multi-Resource Refresh Tokens when accessing the My Account API.
- Under Token Sender-Constraining: if this is a free tenant, set the Sender-Constraining method to "None". If this a tenant with a subscription, you can use "DPoP" (demonstrated proof of possession) with this workshop. You can read more about
Now, let's define a Multi-Resource Refresh Token policy for your Application:
- Navigate to Applications > Applications and select your Stock Trade application.
- On the Settings tab, scroll down to the Multi-Resource Refresh Token section.
- Select Edit Configuration and then enable the MRRT toggle for the Auth0 My Account API and your StockTrade MCP Server.
- Scroll down within Settings tab to Advanced Settings. Expand the toggle and select Grant Types tab.
- Make sure that Authorization Code, Refresh Token, Client Initiated Backchannel Authentication (CIBA), Token Vault and all are enabled.
- Once you've enabled CIBA, you'll see CIBA options above. Make sure the Guardian Push Notification Channel is enabled.
- Hit the Save button at the bottom of the page.
- Navigate to Authentication -> Enterprise and select OpenID Connect. Next select your demotradepro-oidc connection open the Settings tab. Scroll to the bottom and the Purpose section.
- Ensure that you enable Use for Authentication and Use for Connected Accounts with Token Vault toggles.
- Hit the Save Changes button.
Install NextJS Auth0 SDK
Install the Auth0 NextJS SDK (version 4.13.0 or higher):
cd apps/agent
pnpm add @auth0/nextjs-auth0@^4.13.0 jose
Set up Auth0 client configuration
Now we need to setup the Auth0 SDK Integration in the Agent App itself.
Create lib/auth0.ts:
import { Auth0Client } from "@auth0/nextjs-auth0/server";

// Server-side agent Auth0 client instance
export const auth0 = new Auth0Client({
  logoutStrategy: "oidc",
  authorizationParameters: {
    audience: process.env.AUTH0_AUDIENCE,
    scope: process.env.API_DEFAULT_SCOPES,
    prompt: "login",
    connection: process.env.API_OIDC_CONNECTION_NAME,
  },
  enableConnectAccountEndpoint: true,
});
What this does:
- Server-side client - Handles authentication on the backend
- Scope configuration - Defines what permissions to request
- Environment variables - Auth0 will read the environment variables setup by the init script in
apps/agent/.env
Set up authentication middleware
Create middleware to protect all routes and adds the Auth0 route handlers such as /auth/login and /auth/logout.
Create middleware.ts in the root of your agent app:
import type { NextRequest } from "next/server";
import { auth0 } from "@/lib/auth0";

export async function middleware(request: NextRequest) {
  // Let Auth0 middleware handle authentication
  // This includes /auth/login, /auth/logout, /auth/callback
  return await auth0.middleware(request);
}

export const config = {
  matcher: [
    /*
    * Match all request paths except for the ones starting with:
    * - _next/static (static files)
    * - _next/image (image optimization files)
    * - favicon.ico (favicon file)
    * - sitemap.xml (sitemap file)
    * - robots.txt (robots file)
    */
    "/((?!_next/static|_next/image|favicon.ico|sitemap.xml|robots.txt).*)"
  ]
};
What this does:
- Route protection - Automatically protects all pages in your app
- Static file exceptions - Allows Next.js assets to load without auth
- Defense in depth - Works alongside page and API route protection
Enable authentication in your page
Your template agent currently bypasses authentication. Let's enable it!
Update app/page.tsx to use real authentication:
import { auth0 } from "../lib/auth0";
import ChatClient from "./components/chat-client";
import type { ReactElement } from "react";
import { AUTH0_DOMAIN } from "../lib/config";
import { decodeJwt } from "jose";

export default auth0.withPageAuthRequired(
  async function Chat() {
    const session = await auth0.getSession();
    const user = session?.user;

    // Check if the OIDC connection has been added to My Account API has been connected by:
    // 1. Looking for the Auth0 /me/ audience in accessTokens
    // 2. Validating the access token's sub field starts with "oidc|demotradepro-oidc"
    const meAudience = `https://${AUTH0_DOMAIN}/me/`;
    const oidcConnectionPrefix = `oidc|${process.env.API_OIDC_CONNECTION_NAME}`;

    const isAccountConnected =
      session?.accessTokens?.some((token) => {
        if (token.audience !== meAudience) {
          return false;
        }

        // Decode the JWT and check the sub field using jose
        try {
          const decoded = decodeJwt(token.accessToken);
          if (!decoded || !decoded.sub || typeof decoded.sub !== "string") {
            return false;
          }

          return decoded.sub.startsWith(oidcConnectionPrefix);
        } catch (error) {
          console.error("Failed to decode JWT:", error);
          return false;
        }
      }) ?? false;

    return (
      <ChatClient
        user={user!}
        connectionName={process.env.API_OIDC_CONNECTION_NAME!}
        defaultScopes={process.env.API_DEFAULT_SCOPES!}
        apiAudience={process.env.API_AUDIENCE!}
        isAccountConnected={isAccountConnected}
      />
    );
  },
  { returnTo: "/" }
) as unknown as () => Promise<ReactElement>;
Now let's update the app/components/chat-client.tsx screen to reference these new auth variables:
"use client";

import { useChat } from "@ai-sdk/react";
import { useState } from "react";
import {
  Send,
  Bot,
  User,
  TrendingUp,
  LogOut,
  CheckCircle,
  Link2,
} from "lucide-react";
import { Button } from "@workspace/ui/components/button";
import { Input } from "@workspace/ui/components/input";
import {
  Card,
  CardContent,
  CardHeader,
  CardTitle,
} from "@workspace/ui/components/card";
import { Badge } from "@workspace/ui/components/badge";
import { cn } from "@workspace/ui/lib/utils";
import { User as Auth0User } from "@auth0/nextjs-auth0/types";

interface ChatClientProps {
  user: Auth0User | null;
  connectionName: string;
  defaultScopes: string;
  apiAudience: string;
  isAccountConnected: boolean;
}

export default function ChatClient({
  user,
  connectionName,
  defaultScopes,
  apiAudience,
  isAccountConnected,
}: ChatClientProps) {
  const [input, setInput] = useState("");
  const { messages, sendMessage } = useChat();

  const handleConnectAccount = () => {
    // Navigate to the connect-account endpoint which will redirect to Auth0
    const search = new URLSearchParams({
      connection: connectionName,
      returnTo: "/",
      scopes: defaultScopes,
      audience: apiAudience,
    });
    const url = new URL("/auth/connect", window.location.origin);
    url.search = search.toString();
    console.log("url:", url.toString());
    window.location.href = url.toString();
  };

  const suggestedQuestions = [
    "What's the difference between stocks and bonds?",
    "How do I evaluate a company's financial health?",
    "What are the basics of stock market investing?",
  ];

  return (
    <div className="min-h-screen bg-background p-4">
      <div className="max-w-4xl mx-auto">
        {/* Header */}
        <div className="text-center mb-6">
          <div className="flex items-center justify-center gap-2 mb-2">
            <TrendingUp className="h-8 w-8 text-primary" />
            <h1 className="text-3xl font-bold">DemoTradePro AI Agent</h1>
          </div>
          <div className="flex items-center justify-center gap-4">
            <p className="text-muted-foreground">
              Welcome! Your intelligent trading assistant for fictional
              companies.
            </p>
            <div className="flex items-center gap-3">
              {user && (
                <>
                  <Button
                    onClick={handleConnectAccount}
                    variant={isAccountConnected ? "default" : "outline"}
                    size="sm"
                    className={cn(
                      "text-sm",
                      isAccountConnected &&
                        "bg-green-600 hover:bg-green-700 text-white"
                    )}
                    disabled={isAccountConnected}
                  >
                    {isAccountConnected ? (
                      <>
                        <CheckCircle className="h-3 w-3 mr-1" />
                        Account Connected
                      </>
                    ) : (
                      <>
                        <Link2 className="h-3 w-3 mr-1" />
                        Connect Account
                      </>
                    )}
                  </Button>
                  <a
                    href="/auth/logout"
                    className="text-sm text-blue-600 hover:text-blue-800 flex items-center gap-1 transition-colors"
                  >
                    <LogOut className="h-3 w-3" />
                    Sign Out
                  </a>
                </>
              )}
            </div>
          </div>
        </div>

        {/* Chat Interface */}
        <Card className="h-[600px] flex flex-col">
          <CardHeader>
            <CardTitle className="flex items-center gap-2">
              <Bot className="h-5 w-5 text-primary" />
              Trading Assistant
            </CardTitle>
          </CardHeader>

          <CardContent className="flex-1 overflow-y-auto">
            <div className="space-y-4">
              {messages.length === 0 && (
                <div className="text-center py-8">
                  <Bot className="h-12 w-12 mx-auto mb-4 text-primary" />
                  <h3 className="text-lg font-medium mb-2">Hello there!</h3>
                  <p className="text-muted-foreground mb-6">
                    I can help you learn about trading concepts and strategies.
                    Try asking about our fictional companies or trading basics.
                  </p>

                  <div className="flex flex-wrap gap-2 justify-center">
                    {suggestedQuestions.map((question, index) => (
                      <Badge
                        key={index}
                        variant="secondary"
                        className="cursor-pointer hover:bg-secondary/80 transition-colors"
                        onClick={() => sendMessage({ text: question })}
                      >
                        {question}
                      </Badge>
                    ))}
                  </div>
                </div>
              )}

              {messages.map((message) => (
                <div
                  key={message.id}
                  className={`flex gap-3 ${
                    message.role === "user" ? "justify-end" : "justify-start"
                  }`}
                >
                  <div
                    className={`flex gap-3 max-w-[80%] ${
                      message.role === "user" ? "flex-row-reverse" : "flex-row"
                    }`}
                  >
                    <div
                      className={cn(
                        "w-8 h-8 rounded-full flex items-center justify-center flex-shrink-0",
                        message.role === "user"
                          ? "bg-primary text-primary-foreground"
                          : "bg-muted text-muted-foreground"
                      )}
                    >
                      {message.role === "user" ? (
                        <User className="h-4 w-4" />
                      ) : (
                        <Bot className="h-4 w-4" />
                      )}
                    </div>
                    <div
                      className={cn(
                        "rounded-lg p-3",
                        message.role === "user"
                          ? "bg-primary text-primary-foreground"
                          : "bg-muted text-muted-foreground"
                      )}
                    >
                      <p className="text-sm leading-relaxed whitespace-pre-wrap">
                        {message.parts.map((part, i) => {
                          switch (part.type) {
                            case "text":
                              return (
                                <span key={`${message.id}-${i}`}>
                                  {part.text}
                                </span>
                              );
                            default:
                              return null;
                          }
                        })}
                      </p>
                    </div>
                  </div>
                </div>
              ))}
            </div>
          </CardContent>

          <div className="border-t p-4">
            <form
              onSubmit={(e) => {
                e.preventDefault();
                if (input.trim()) {
                  sendMessage({ text: input });
                  setInput("");
                }
              }}
              className="flex gap-2"
            >
              <Input
                value={input}
                onChange={(e) => setInput(e.target.value)}
                placeholder="Ask about trading, stocks, or market concepts..."
                className="flex-1"
              />
              <Button
                type="submit"
                disabled={!input.trim()}
                className="flex items-center gap-2"
              >
                <Send className="h-4 w-4" />
              </Button>
            </form>
          </div>
        </Card>

        {/* Footer */}
        <div className="text-center mt-4 text-sm text-muted-foreground">
          <p>
            This is a demo trading assistant for workshop purposes. Companies
            like Wayne Enterprises and Stark Industries are fictional. All
            trading involves risk.
          </p>
        </div>
      </div>
    </div>
  );
}
What this does:
- Server-side auth check - Verifies user is authenticated before page renders
- Automatic redirect - Sends unauthenticated users to Auth0 login
- Determines if your user has connected their DemoTradePro account - Checks if the user has enabled the DemoTradePro connection using Auth0 My Account API. If they have not enabled the connection, they will see a button to enable it.
Update your API route to use authentication
Your agent's API route needs to verify user identity. Replace the entire contents of app/api/chat/route.ts with:
import { openai } from '@ai-sdk/openai';
import { streamText, UIMessage, convertToModelMessages, stepCountIs } from 'ai';
import { auth0 } from '../../../lib/auth0';
import { NextResponse } from 'next/server';
import { agentTools } from './tools';

// Allow streaming responses up to 30 seconds
export const maxDuration = 30;

export async function POST(req: Request) {
  // Verify user is authenticated
  const session = await auth0.getSession();
  if (!session || !session.user) {
    return NextResponse.json({ error: 'Unauthorized' }, { status: 401 });
  }

  const { messages }: { messages: UIMessage[] } = await req.json();
  const user = session.user;

  const result = streamText({
    model: openai('gpt-4o'),
    messages: convertToModelMessages(messages),
    system: `You are a helpful stock trading assistant for DemoTradePro. You provide trading advice, market insights, and help users understand stock market concepts. You are knowledgeable, professional, and always emphasize risk management.

You are currently assisting ${user.name || 'a user'} (${user.email || 'authenticated user'}).

Key guidelines:
- Always remind users that trading involves risk
- Provide educational information about stocks and markets
- Help with basic trading concepts and strategies
- Be conversational and helpful
- Never provide specific financial advice or guarantees
- You can reference the user by their name when appropriate

You now have access to real-time stock market data through your tools. Use them when users ask about stock prices, company information, or want to search for stocks.`,
    tools: agentTools,
    stopWhen: stepCountIs(15),
  });

  return result.toUIMessageStreamResponse();
}
Key changes:
- Authentication check - Verifies user session before processing
- Personalized system prompt - AI knows the user's name and email
- Tools included - Your public stock tools still work!
- 401 Unauthorized - Clear error response for invalid sessions
Test your authenticated agent
Visit http://localhost:3003
- Automatic redirect to Auth0 login
- After login - redirected back to chat
- Test stock tools: "Who am I?"
- Personalized response - AI should greet you by name!
🎯 What's Next?
You now have: Fully secured AI agent with complete authentication!
Security Achievement:
- 🔒 Defense in depth - Middleware + page + API protection
- 👤 User identity - AI knows who you are and personalizes responses
- 🚫 Zero unauthorized access - Every entry point requires Auth0 authentication
But there's a problem: How does your agent access your portfolio data from the API?